Creating a new Core
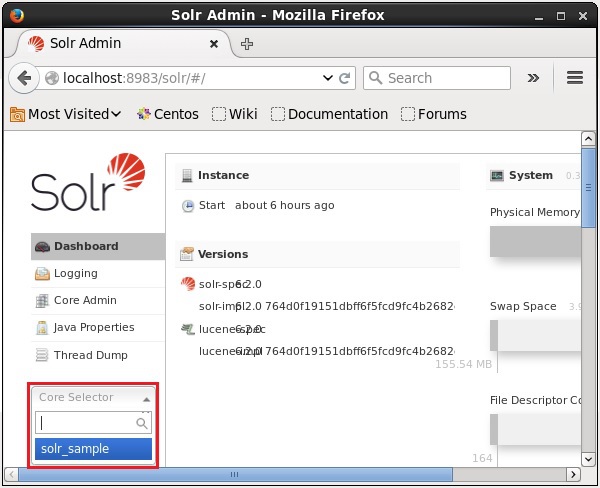
After installing and starting Solr, you can connect to the client (web interface) of Solr. You can verify the setup and installation simply by running solr on the port you specified. We have created core on 8983 port so we can access localhost:8983/solr/#/ on any browser.

As highlighted in the above screen shot, initially there are no cores in Apache Solr. Now, we will see how to create a core in Solr.
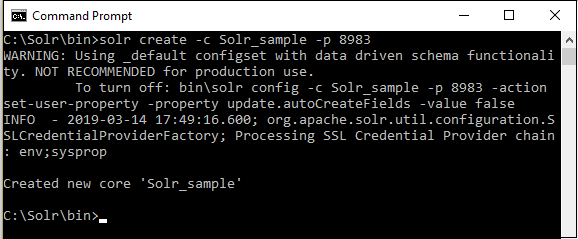
A simple way is to create command(solr create -c Solr_sample -p 8983) as shown below:
Here, we are trying to create a core named Solr_sample in Apache Solr. This command creates a core displaying the following message.
You can create multiple cores in Solr. On the left-hand side of the Solr Admin, you can see a core selector where you can select the newly created core, as shown in the following screenshot.
To check the created core, you can look at C:\Solr\server\solr\Solr_sample location
[Important Note : If your Solr is hosted on shared server then you need to follow steps to make nopAccelerate Plus workable.]